Update 29.05.17
Hello, if you run into dead ends in the tutorial or if anything is unclear, I would appreciate a short feedback to explain these problems here and avoid them in a subsequent video.
Original post
In this post, I would like to briefly show how a vessel can be reconstructed into a complete object using an existing profile drawing.
Reconstructed objects can be used in a variety of ways. A basis for 3D printed supports for fragmented vessels, as a visualization aid in the classroom or museum or for simple volume measurements of the possible contents of prehistoric vessels.
This short tutorial uses the free software Blender, as well as a simple reference drawing from the Weimar type tables as an example.
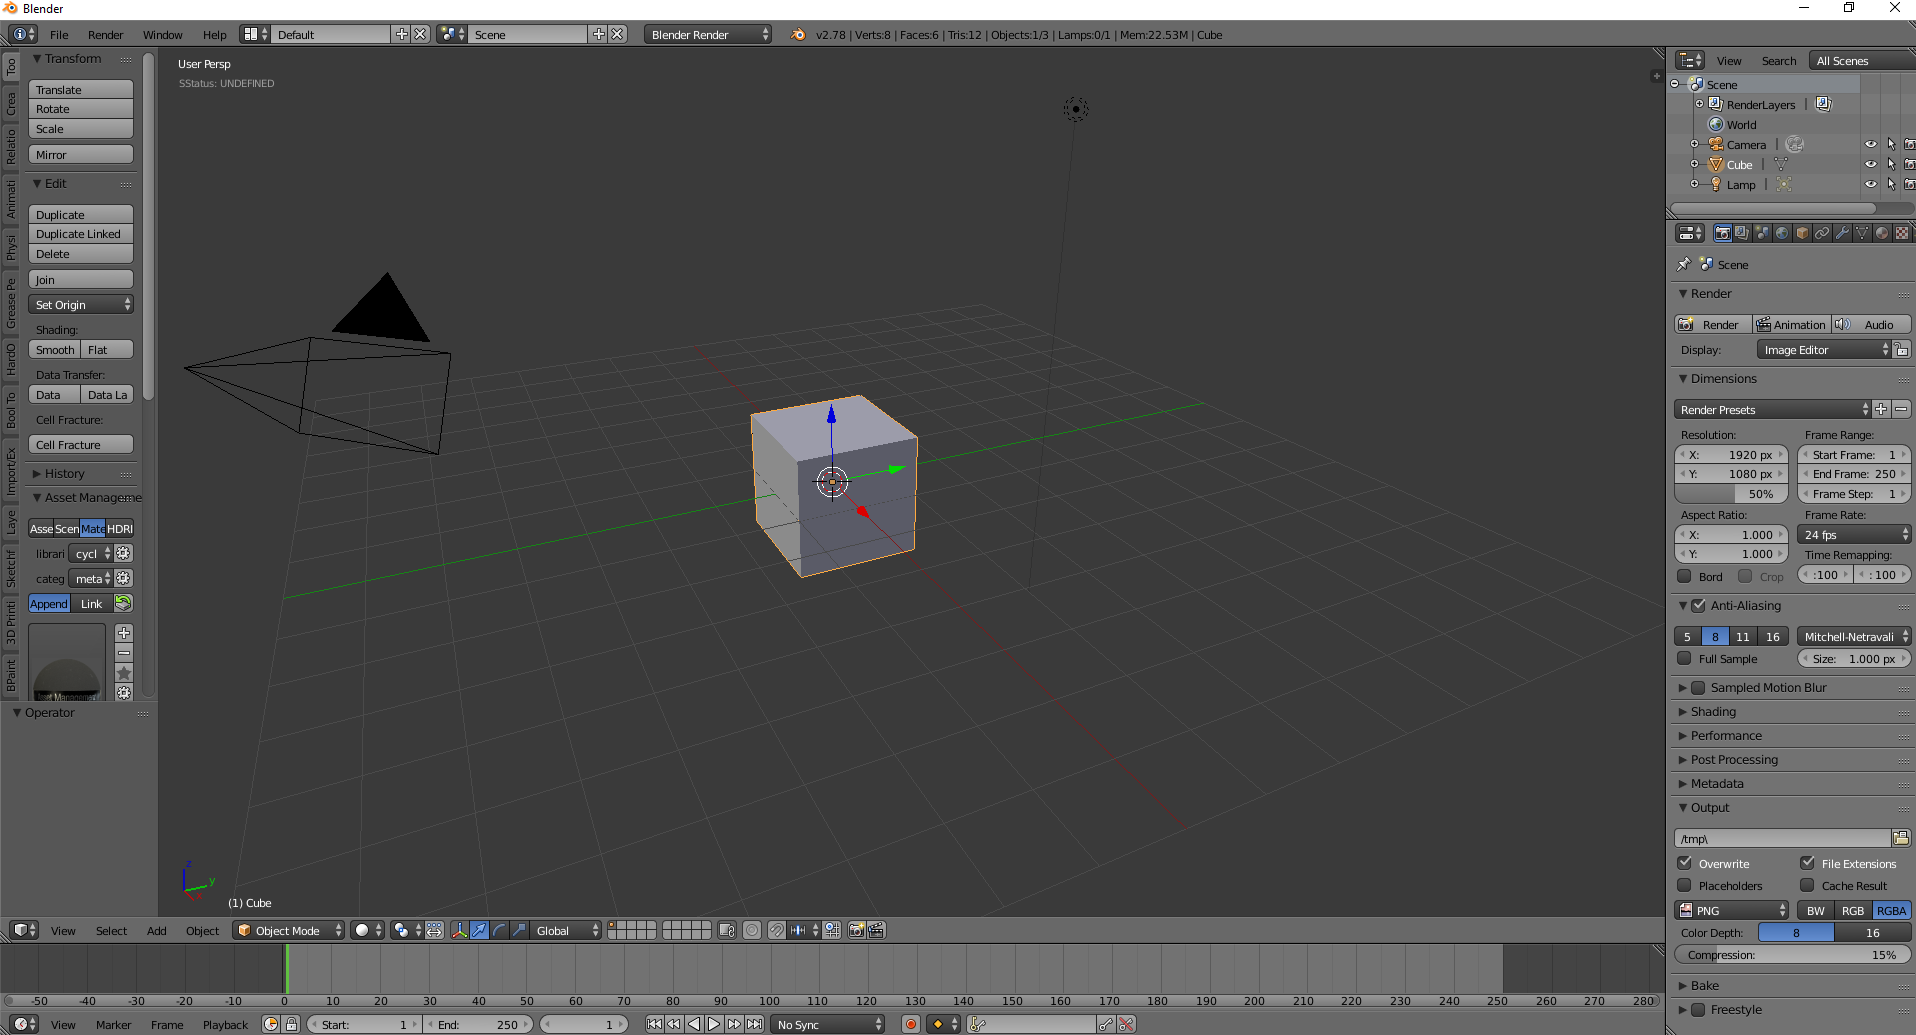
01 – Initial scene
We start in the standard view of Blender with a cube, a camera and a light source in the scene.
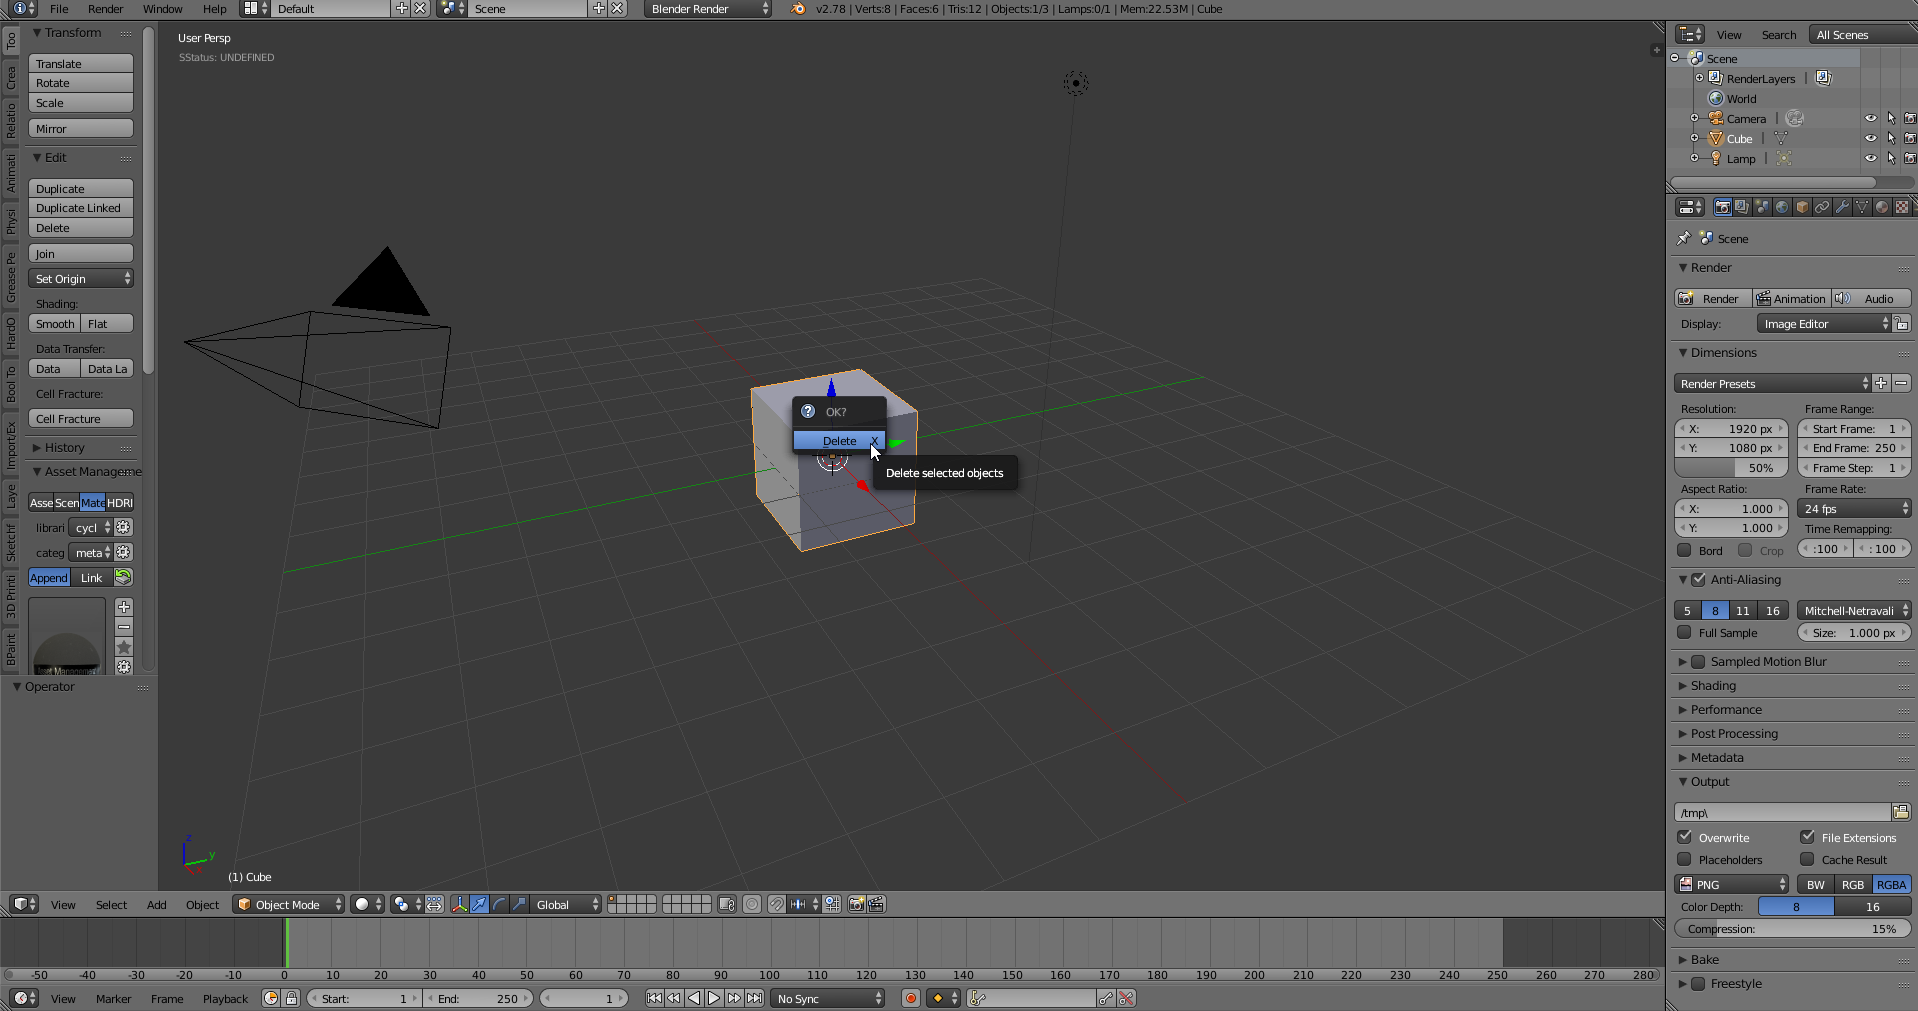
02 – Preparations
First, we remove the standard cube by selecting it with a right-click and then deleting it with X. Left-click on the small delete dialog to remove the object.
03 – Add curve
Now we insert the main object, the Bezier curve. To do this, we either select it in the toolshelf (show with T) on the left-hand side of the 3D editor or insert it into the scene with Shift+A.

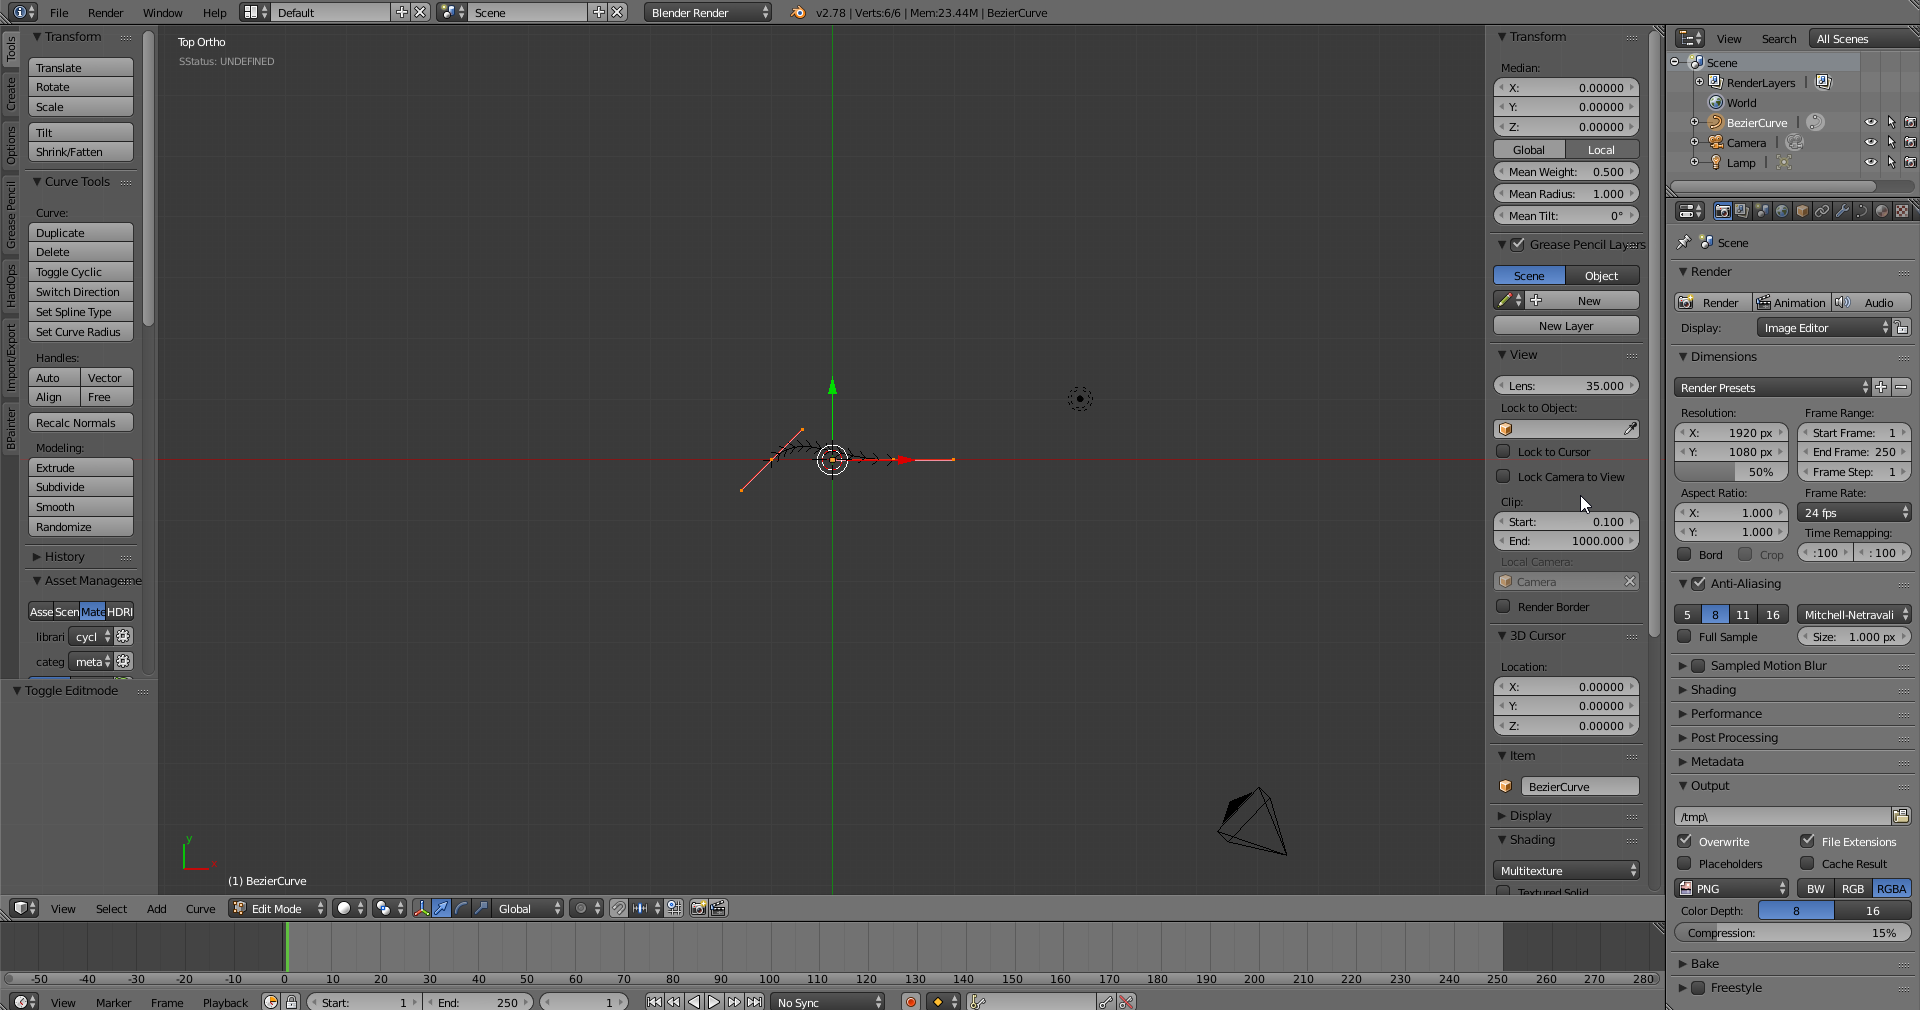
04 – Adjust view
We then switch to the top view using the 7 key on the numeric keypad and switch from a perspective projection to an orthogonal projection using the 5 key on the numeric keypad. Finally, we switch from object mode to edit mode using the TAB key.
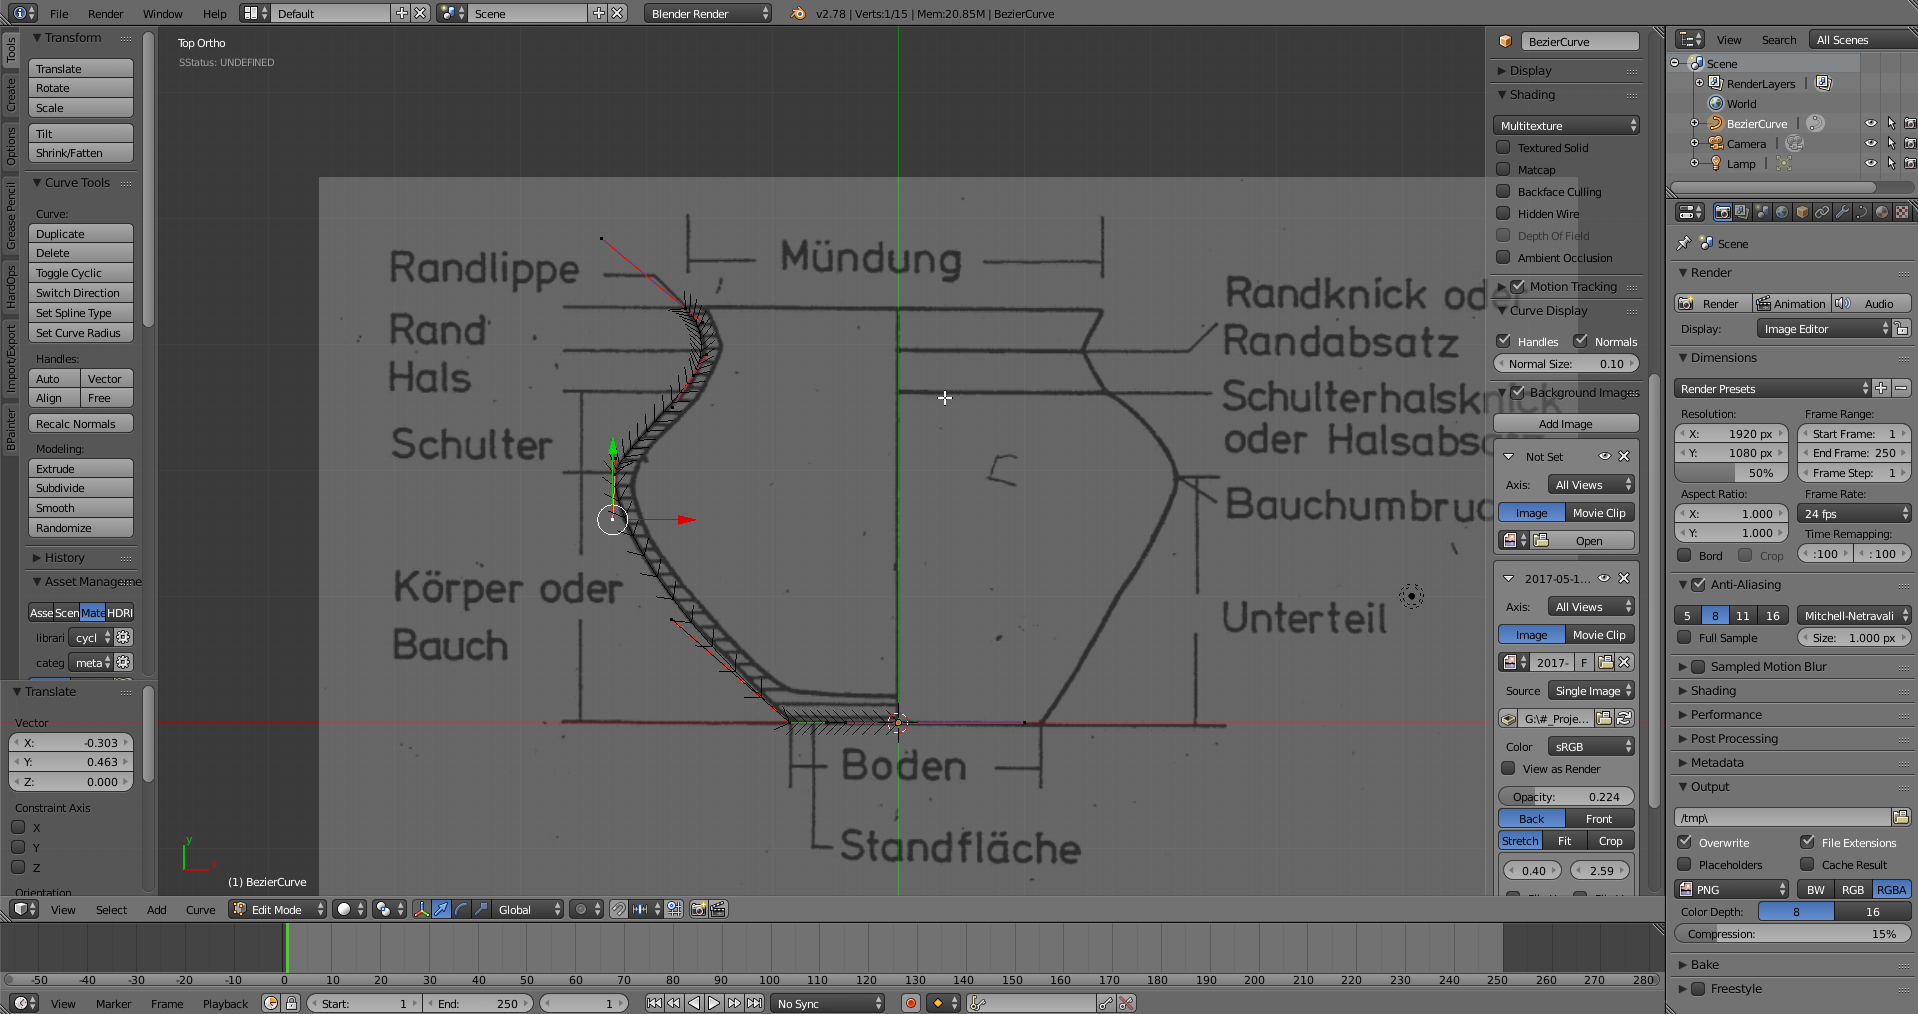
05 – Add Reference Picture
The last step before the actual 3D modeling begins is to insert the reference image. To do this, simply drag and drop an image file from the Explorer into the 3D window or call it up via the right-hand side menu (shortcut N), here in blue.

The image can be moved, rotated, scaled or the transparency adjusted using the sliders circled in red. As we only need one half of the object, we move the reference until it is aligned with the 3D cursor (red and white circle with cross).
06 – Reshape curve
Now that everything is aligned and prepared, the molding of the curve can begin. To do this, one half of the vessel is molded with the Bezier curve. As two points are not enough for most objects, additional points can be added using extrusion. To do this, select the last point of the curve and use E to add a new one behind it.

The individual points consist of three individual points. The middle one represents the actual point and therefore the center. The two points to the right and left of it are connected by a line and represent the tangents of the Bezier points. The curvature of the curve between two points can be changed by moving these points.
The shape of the tangents can also be changed using the V button. In the menu that opens, you can choose between several types, whereby Vector is used for sharp edges and Free separates both tangents. It is worth testing and playing with these functions until the desired result is achieved.
07 – The final Curve
The finished curve should look something like this picture.
08 – Rotate object from a curve
Using the SCREW modifier, we can now construct a surface object from the curve. To do this, we select the SCREW modifier from the modifiers on the right-hand side (blue wrench) and set the rotation axis to the Y-axis. A hollow vessel should then be created.

To make the vessel appear rounder, the number of rotation steps can be increased under Steps in the modifier menu. Around 30 (instead of 16) should be enough to display a completely round object.
09 – Wall thickness
The SOLIDIFY modifier can also be found in the modifier menu (blue wrench). This can be used to convert a single surface into a volume object. The wall thickness is fully adjustable.

Alternatively, the curve can also be continued on the inside of the vessel to get more direct control around the mouth area. In this case, the solidify modifier should be omitted.
10 – More possibilities
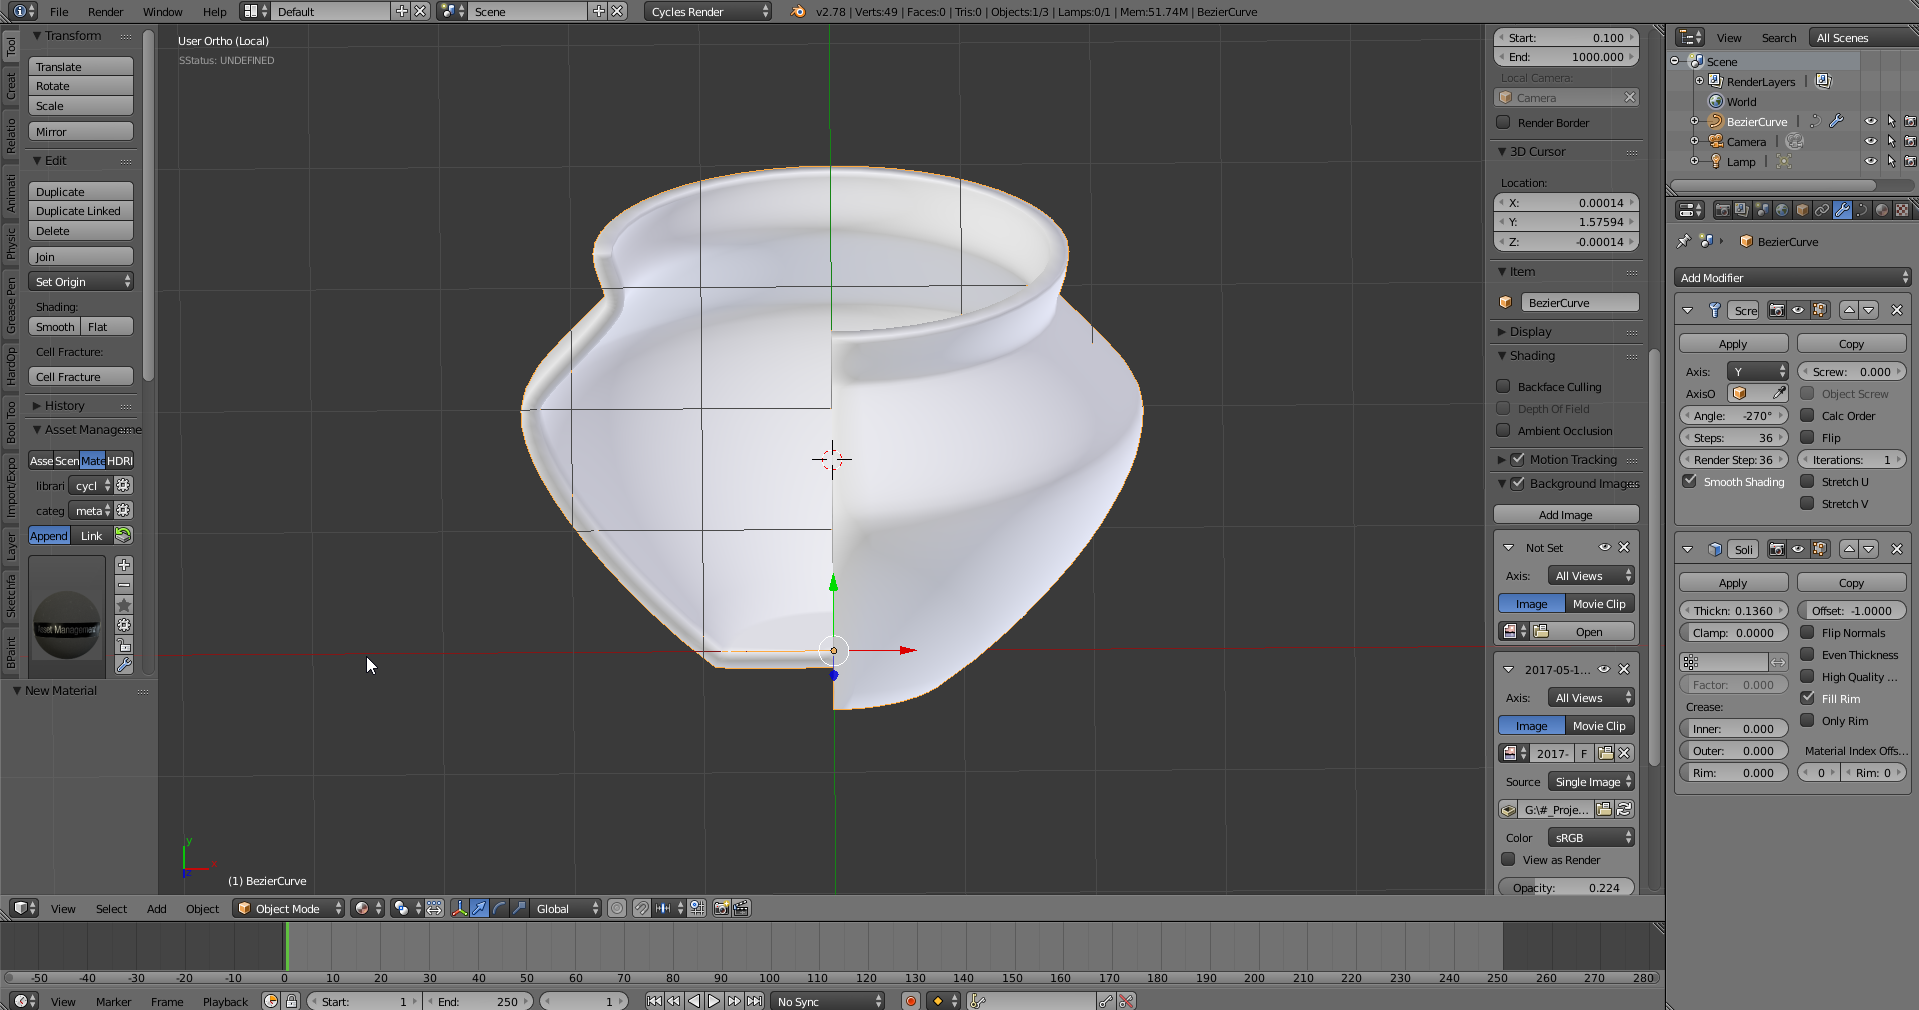
The rotation of the profile does not necessarily have to be 360 degrees, but can be reduced to 270 degrees to create a profile section. This can be entered under Rotation in the SCREW modifier.
FIN
This is just one of many ways to create objects in Blender and can be modified or extended in many ways. Further possibilities will be published later in the blog.
If you have any problems, questions or additions, I would be happy to receive a short comment.
Are you interested in 3D scans, prints, reconstructions, workshops or questions?