A typical day at an Excavation
For several months now, I’m back working for an archaeological excavation company. We are currently working on a larger scale road construction project, on which we have to document immense areas and surfaces in a large scale.
All who participated in such an excavation already know the main problem with these archaeological emergency measures. TIME!
After several attempts using the 3D photogrammetry recording individual house connections pits, we integrated these techniques in our workflow as a quasi-advanced photo documentation.
For what do I need an 3D surface model?
Workflow on the surface
The photos we need are made directly after we finished cleaning the surface. This complements very well as we need to take surface photos for normal documentation purposes anyway. So once the normal pictures are taken, I go around with my own camera and take the pictures that I need for a 3D model.
Because of the limited time we have to record features on the surface, this integrates well in the process, since it takes only 20 minutes of time. This is followed by the normal sequence of drawings, descriptions and measurement of features in the trench.
Editing and rendering
In the evening, I copy the images from my memory card and start processing the images until the pictures are aligned and point clouds, grids and textures have been generated. Depending on the quantity / quality of the images, the time this takes varies greatly.
The successfully calculated and textured model is then loaded into an external 3D program, aligned and rendered with several different settings, like ambient occlusion and global illumination.
The advantages:
- a completely equalized seamless orthophoto can be generated
- the resolution is only depending on the rendering time and the quality of the model
- Exposure, shadows and contrasts are directly controllable on a PC, HDR shots are possible
- connected profiles will be digitized in the same workflow and can be similarly rendered
Here some images of the first experiment in which errors are still present, as well as the footprints of the technicians:
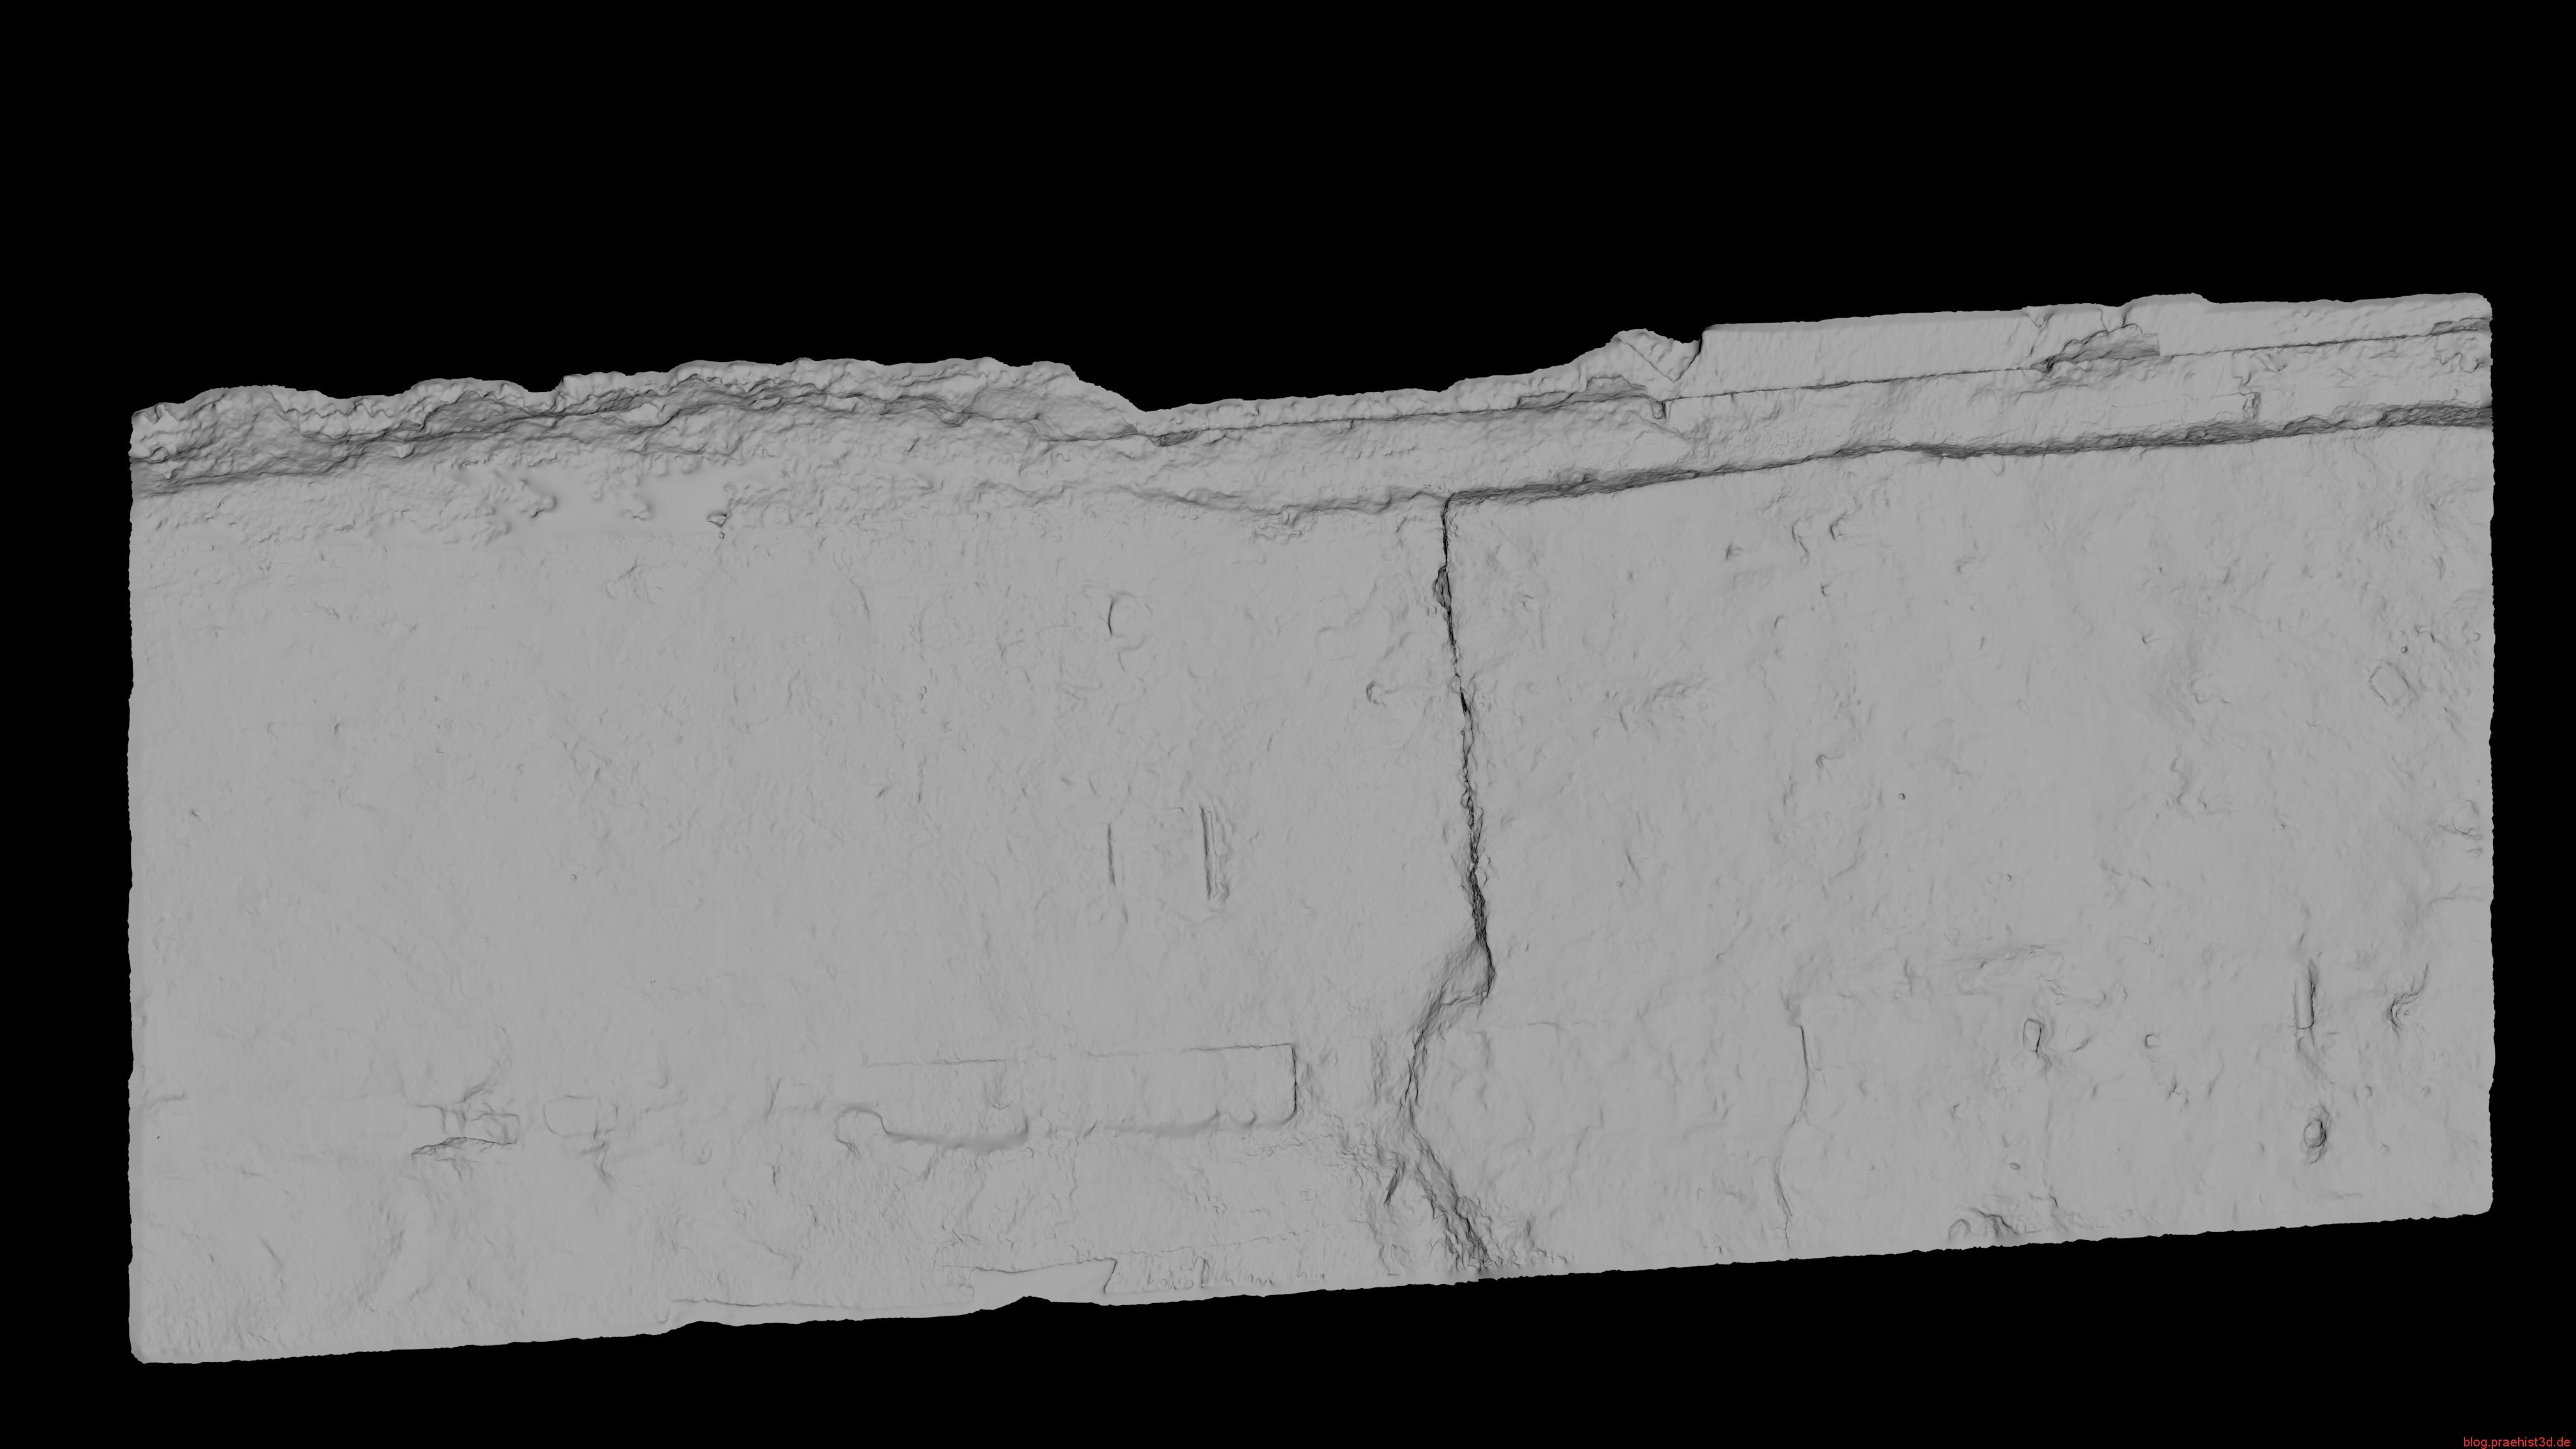
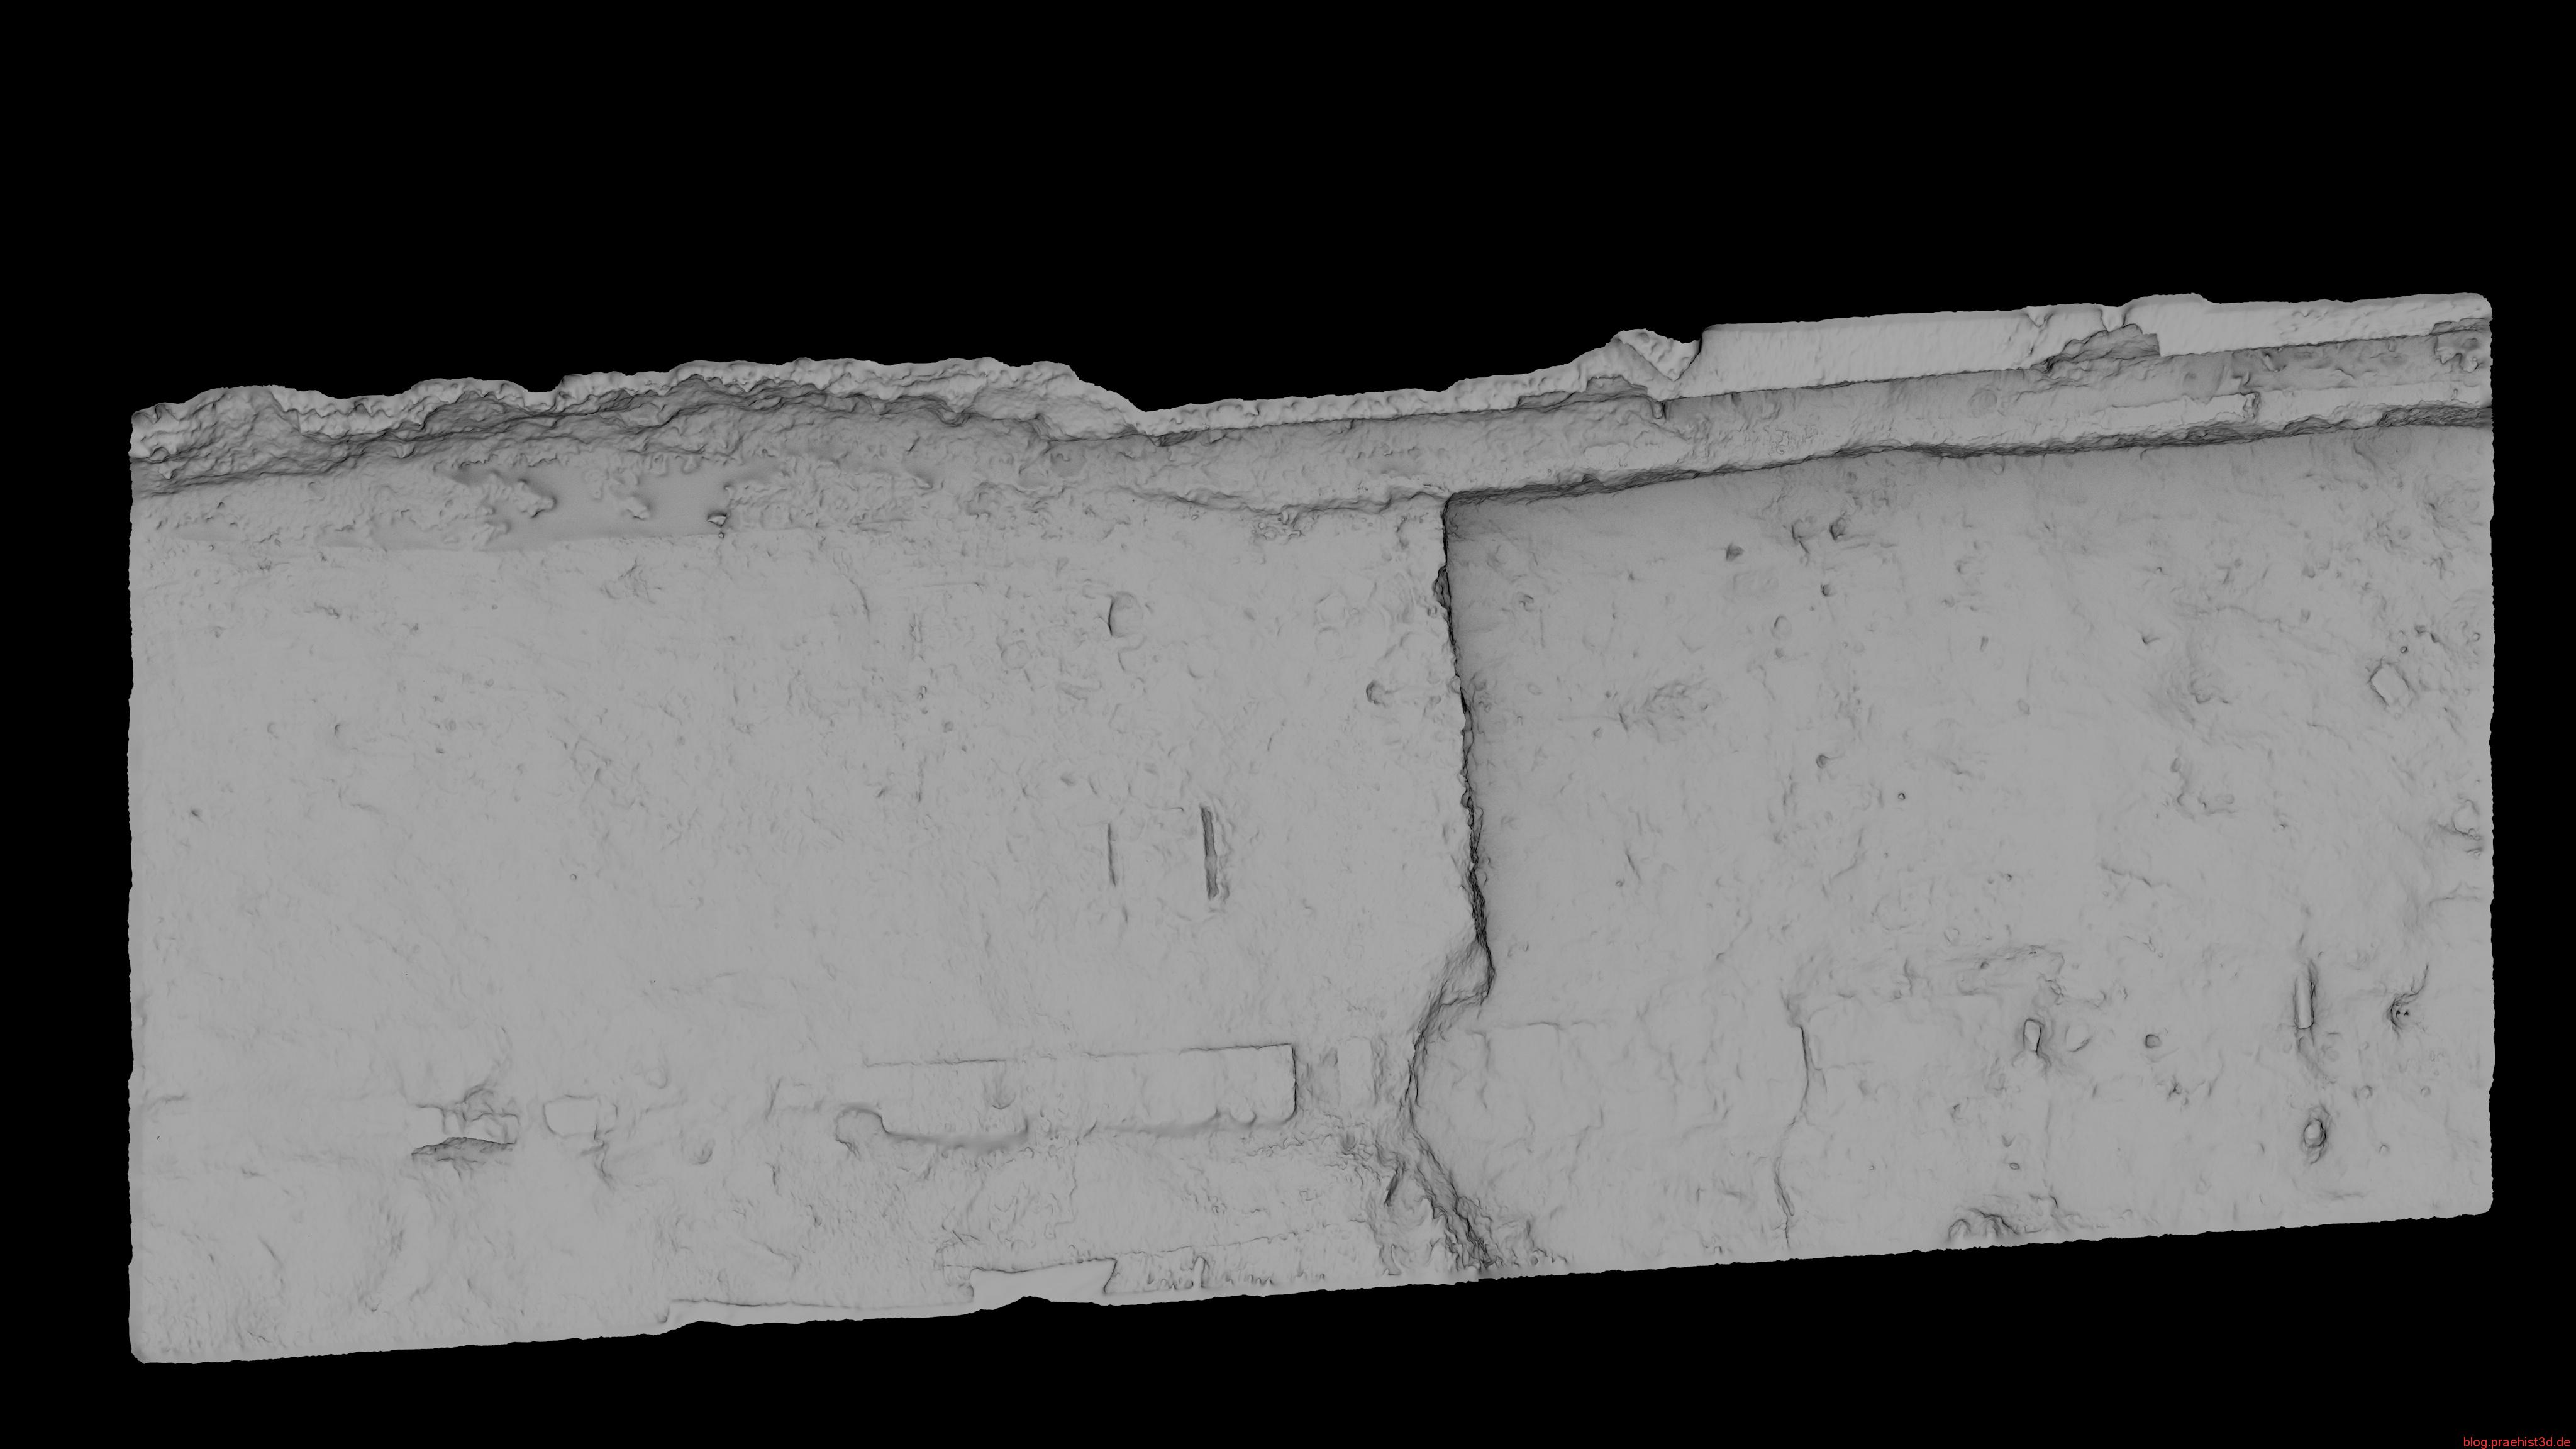
Thus, it was possible to create considerable images over long distances. Here is an example that covers approximately 45 m of the section, with a resolution of about 82 MP:

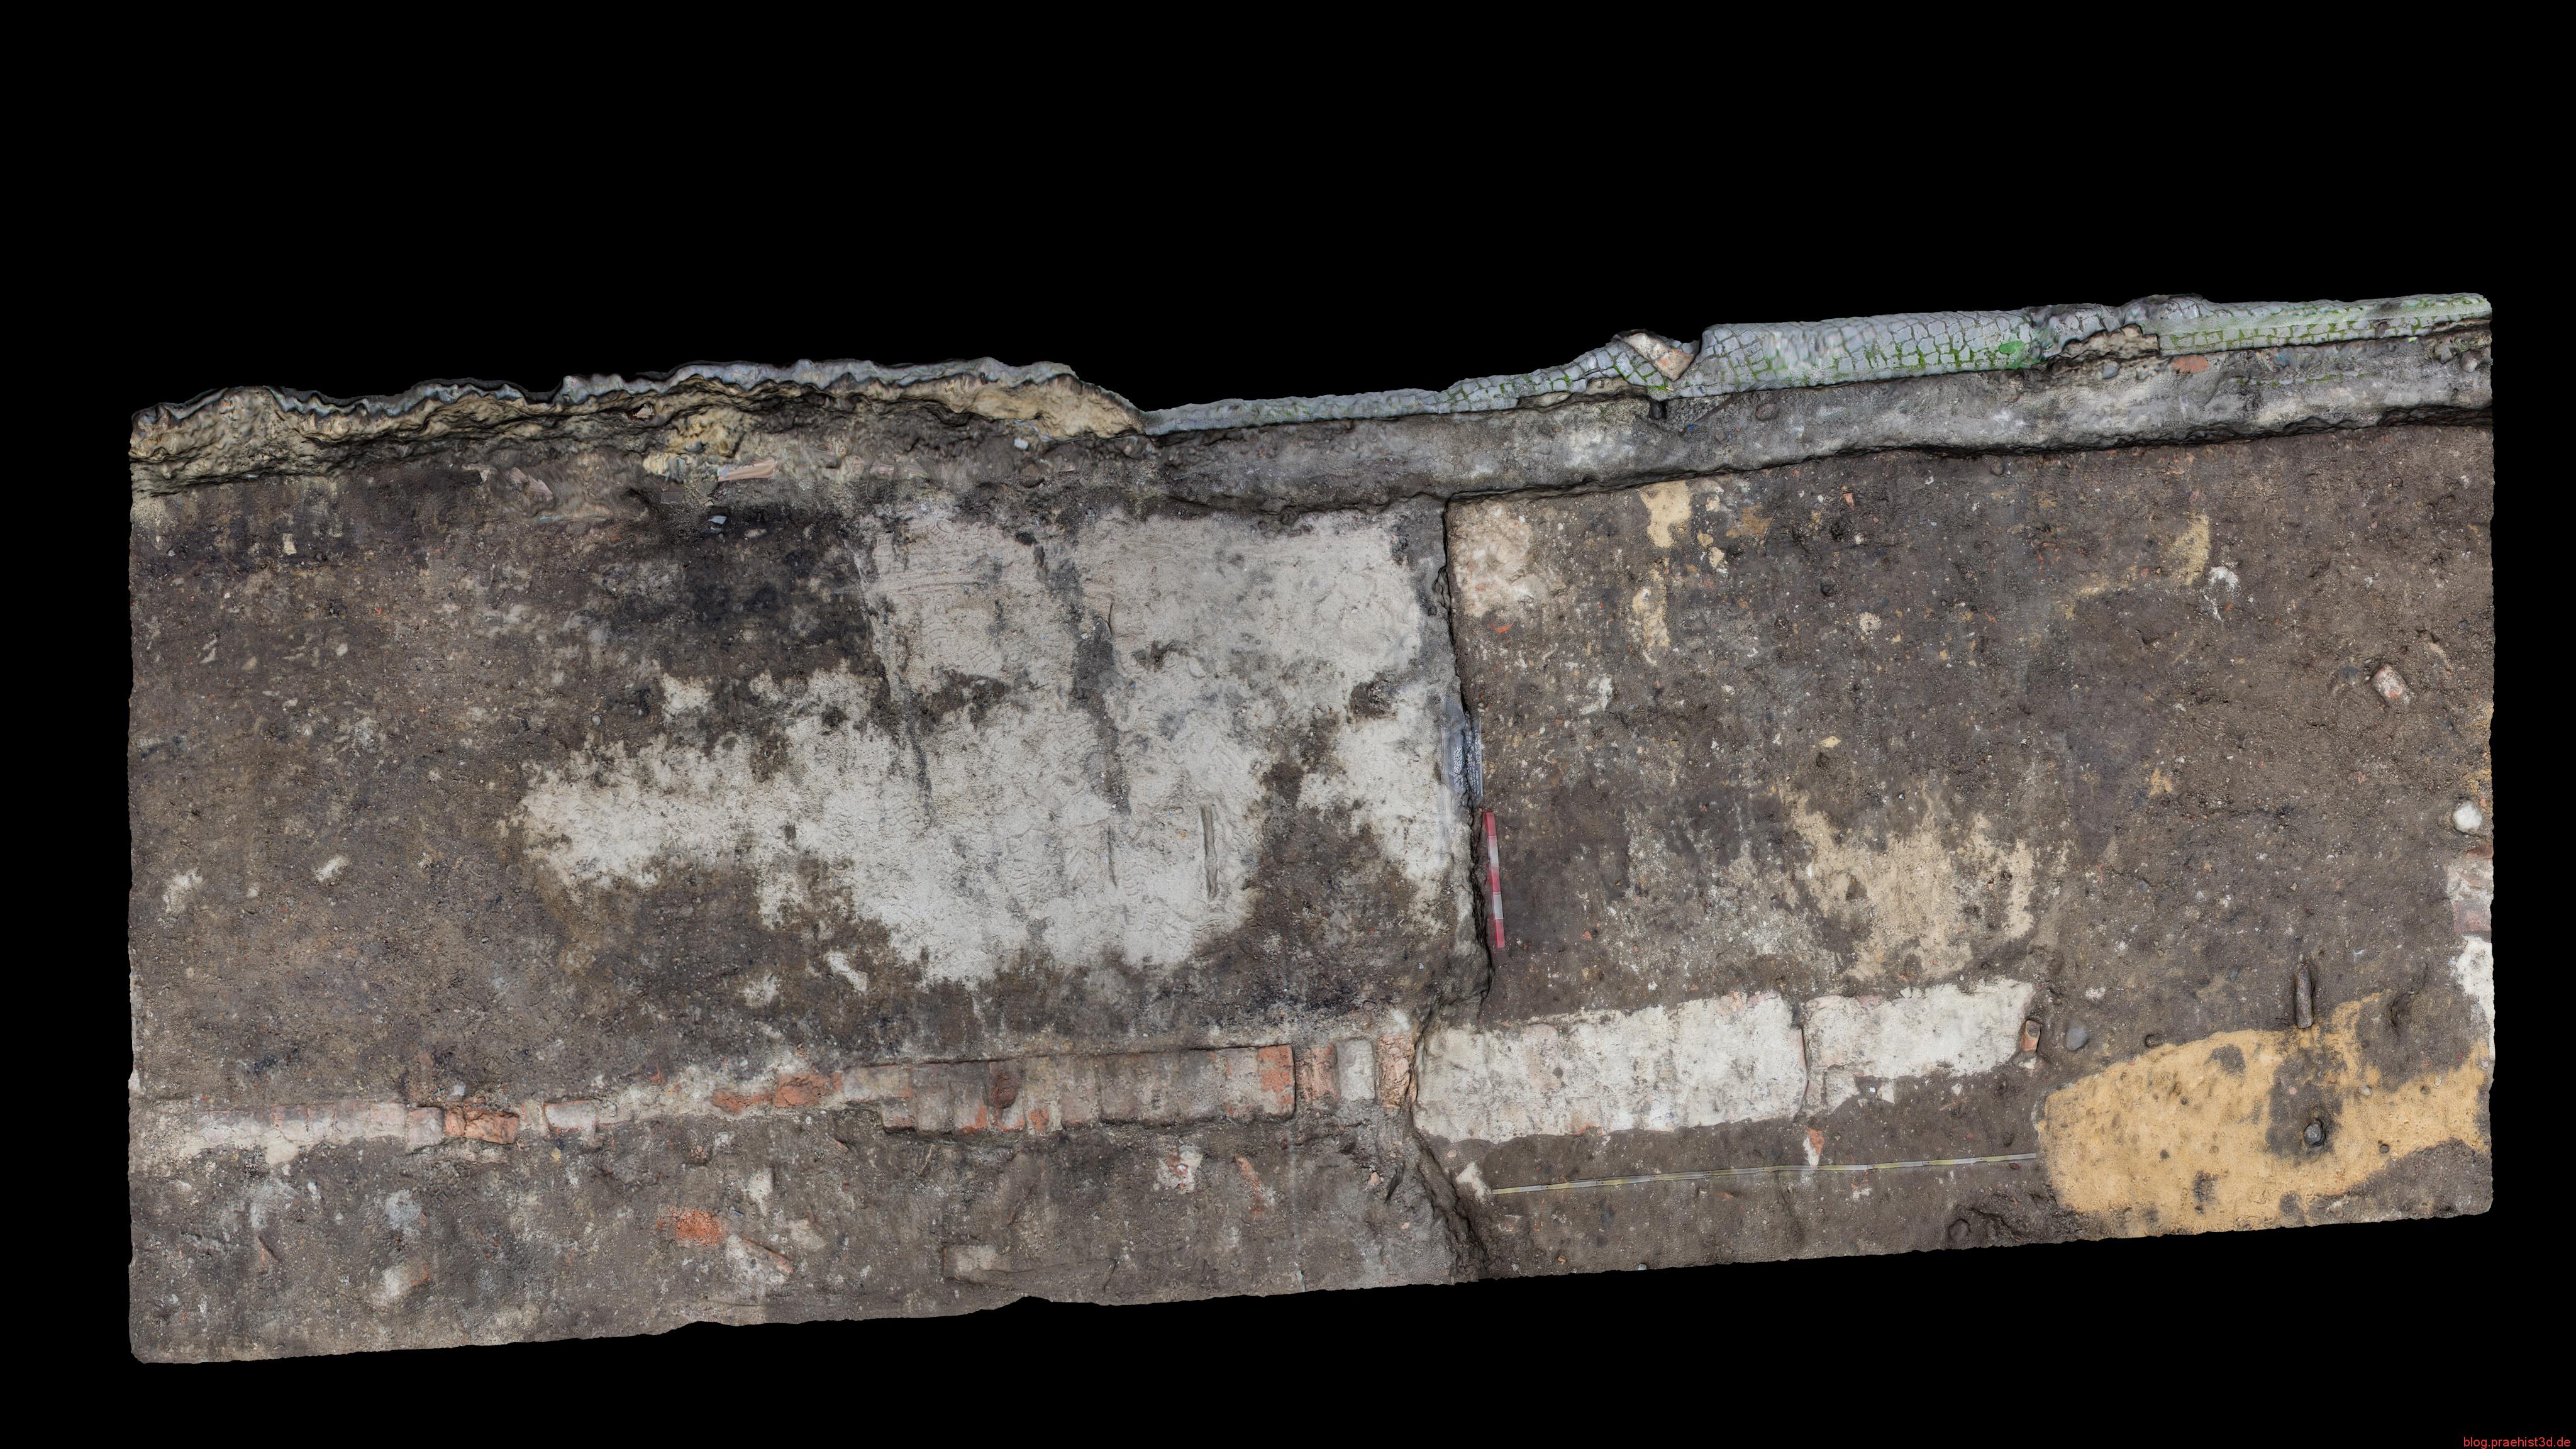
After documenting several different layers, it could look like this:
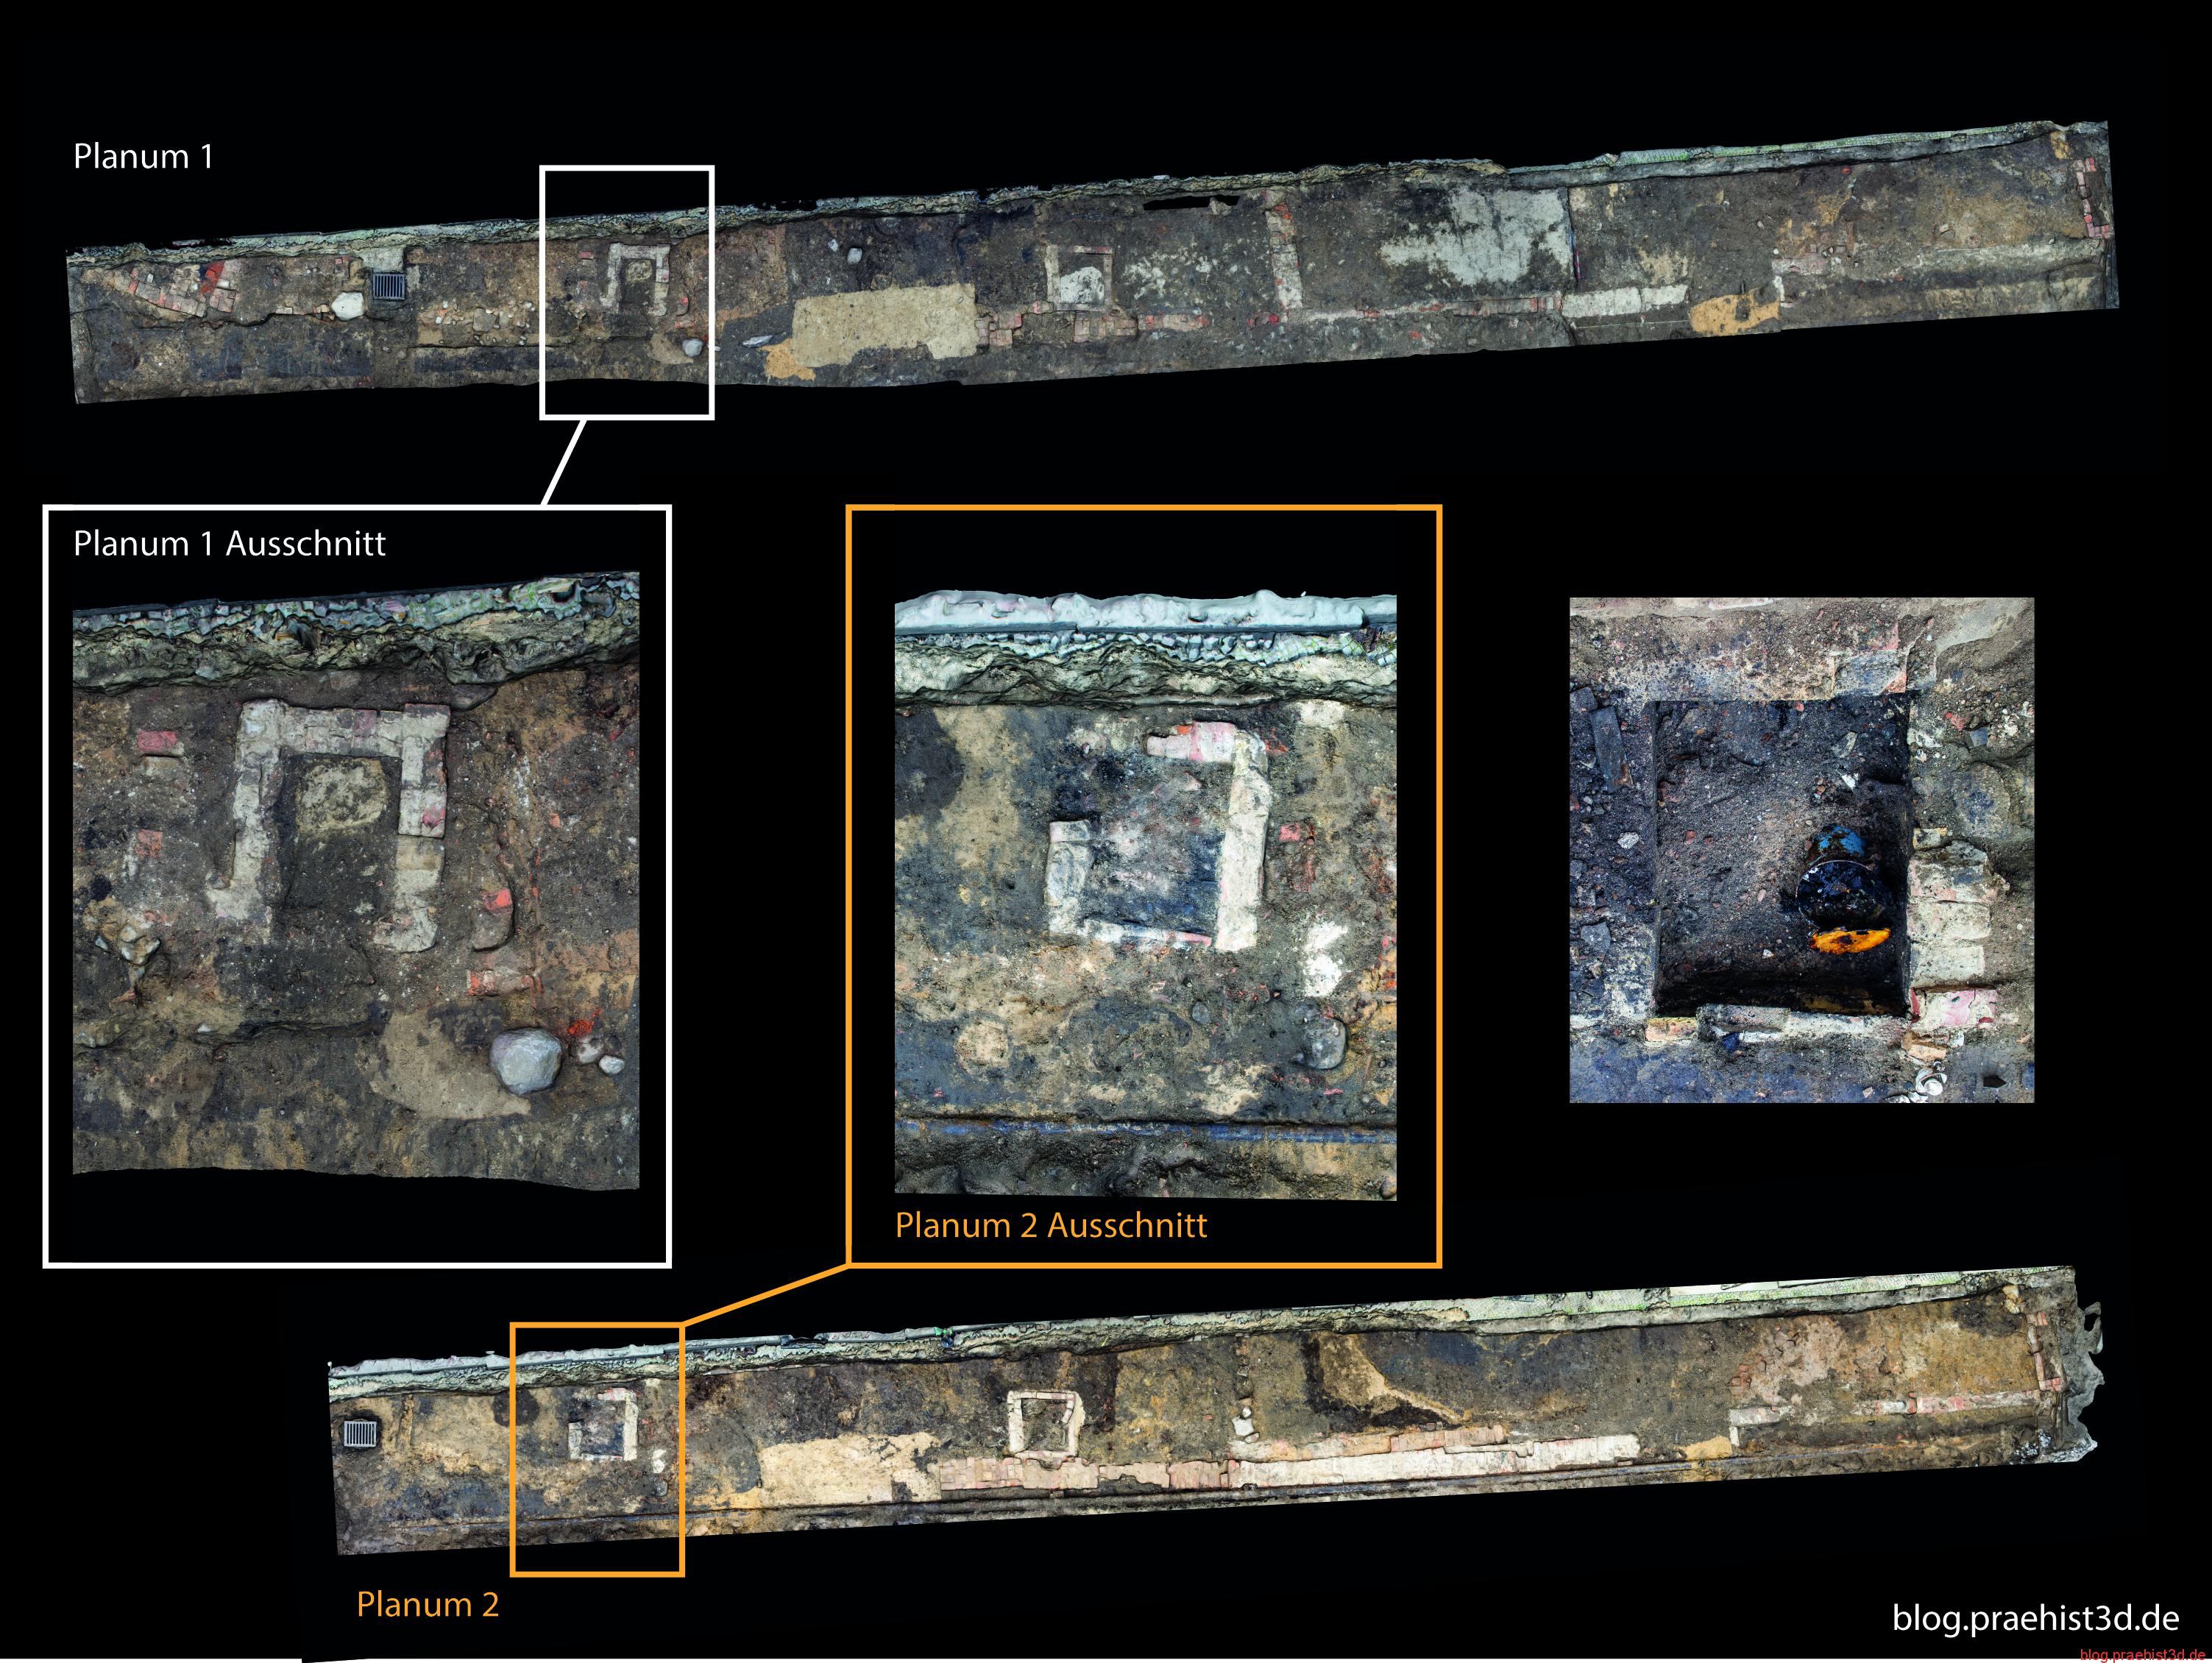
slightly bad colored
Of course, this is only the beginning of the use of this technology … but still.
Kontakt aufnehmen:
Haben Sie Interesse an 3D-Scans, Drucken, Rekonstruktionen, Workshops oder Fragen? Dann melden Sie sich!