Bonding resin 3D prints, but how?
Anyone who makes 3D prints themselves is regularly faced with the problem of firmly joining different objects together. Especially miniatures made of resin are sometimes difficult to glue together.
Here are my best solutions for assembling 3D-printed minis and other models.
A thousand adhesives
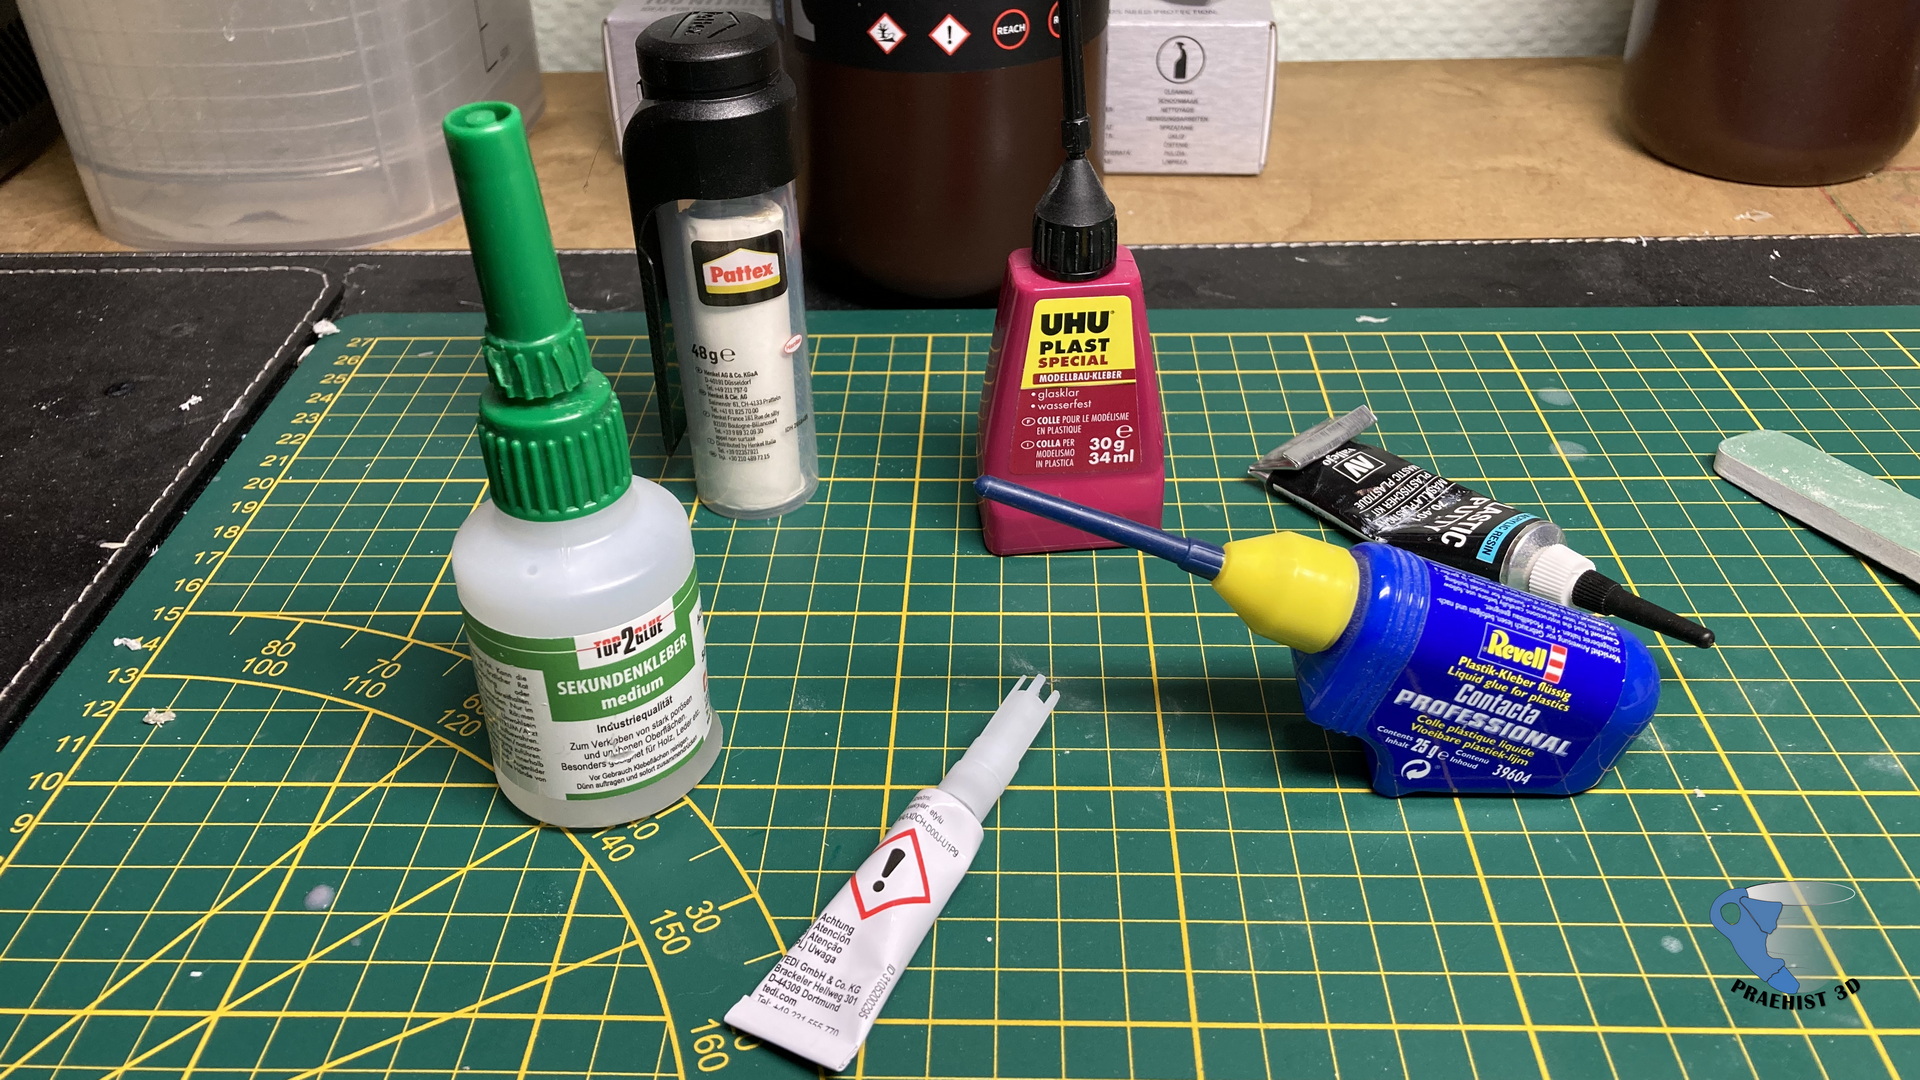
Over the last few years, I have tried various adhesives. Various superglues, epoxy glues, model-making glues and self-mixed acetone/ABS mixtures. But none of them was really convincing.
Industrial superglue works reliably, but is expensive and hardens over time in its can. The modeling glues take forever to set, and epoxy glues are bombproof but unpleasant to work with.

My current favorite
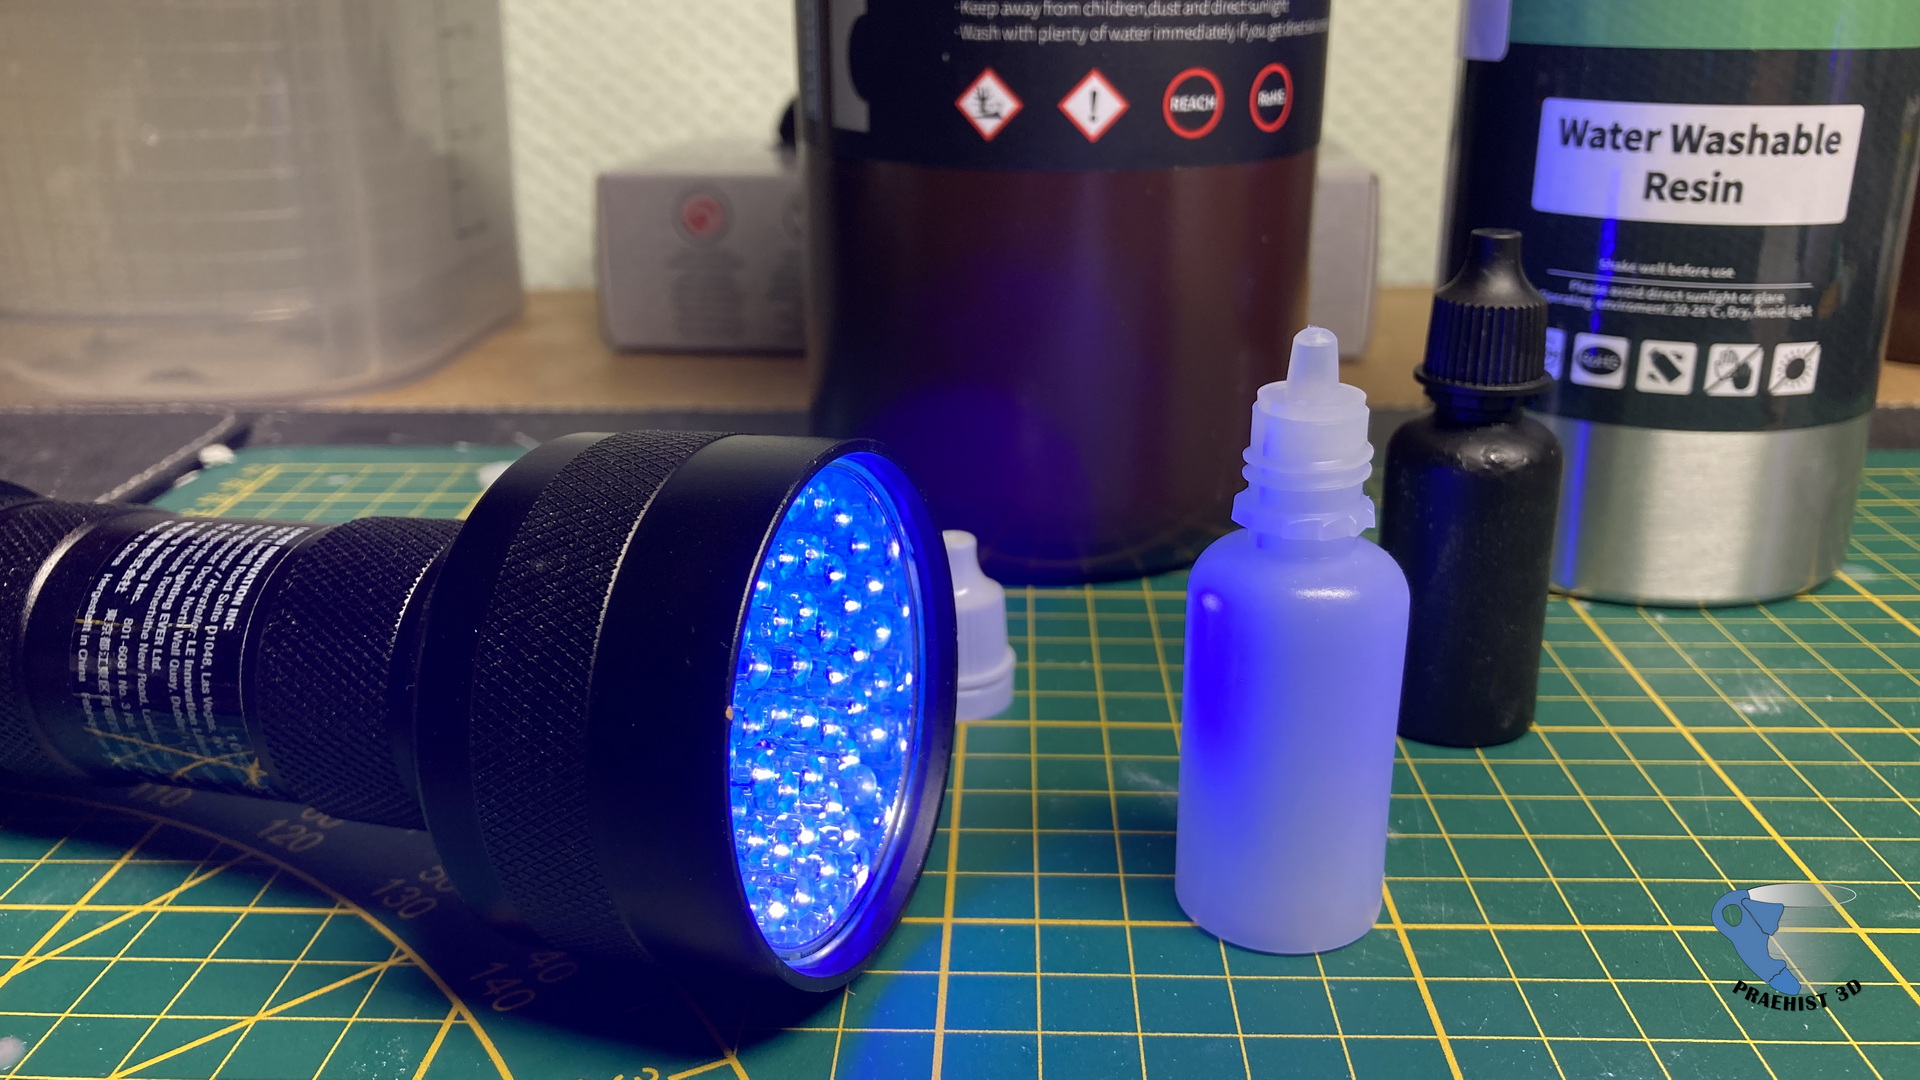
Two years ago, I got my hands on a UV glue for the first time. This is a liquid that hardens in a few seconds with the help of a UV lamp and ensures firm bonds. For many applications, this is an absolute dream. I can place the objects in position for as long as I want and fix them with a short exposure.
The only drawback, apart from the fact that I would sometimes like a third hand, is the price. Most UV adhesives are outrageously expensive, so the last pack with 10ml content cost me 10 euros.
The solution for me was the resin of the SLA printer itself. First, I started to carefully apply drops to the contact points with plastic pipettes and toothpicks. Or I used an old paintbrush to paint the surfaces. But that was a nuisance and required the awkward handling of the large 1KG resin containers.
Dropper Bottles to the rescue
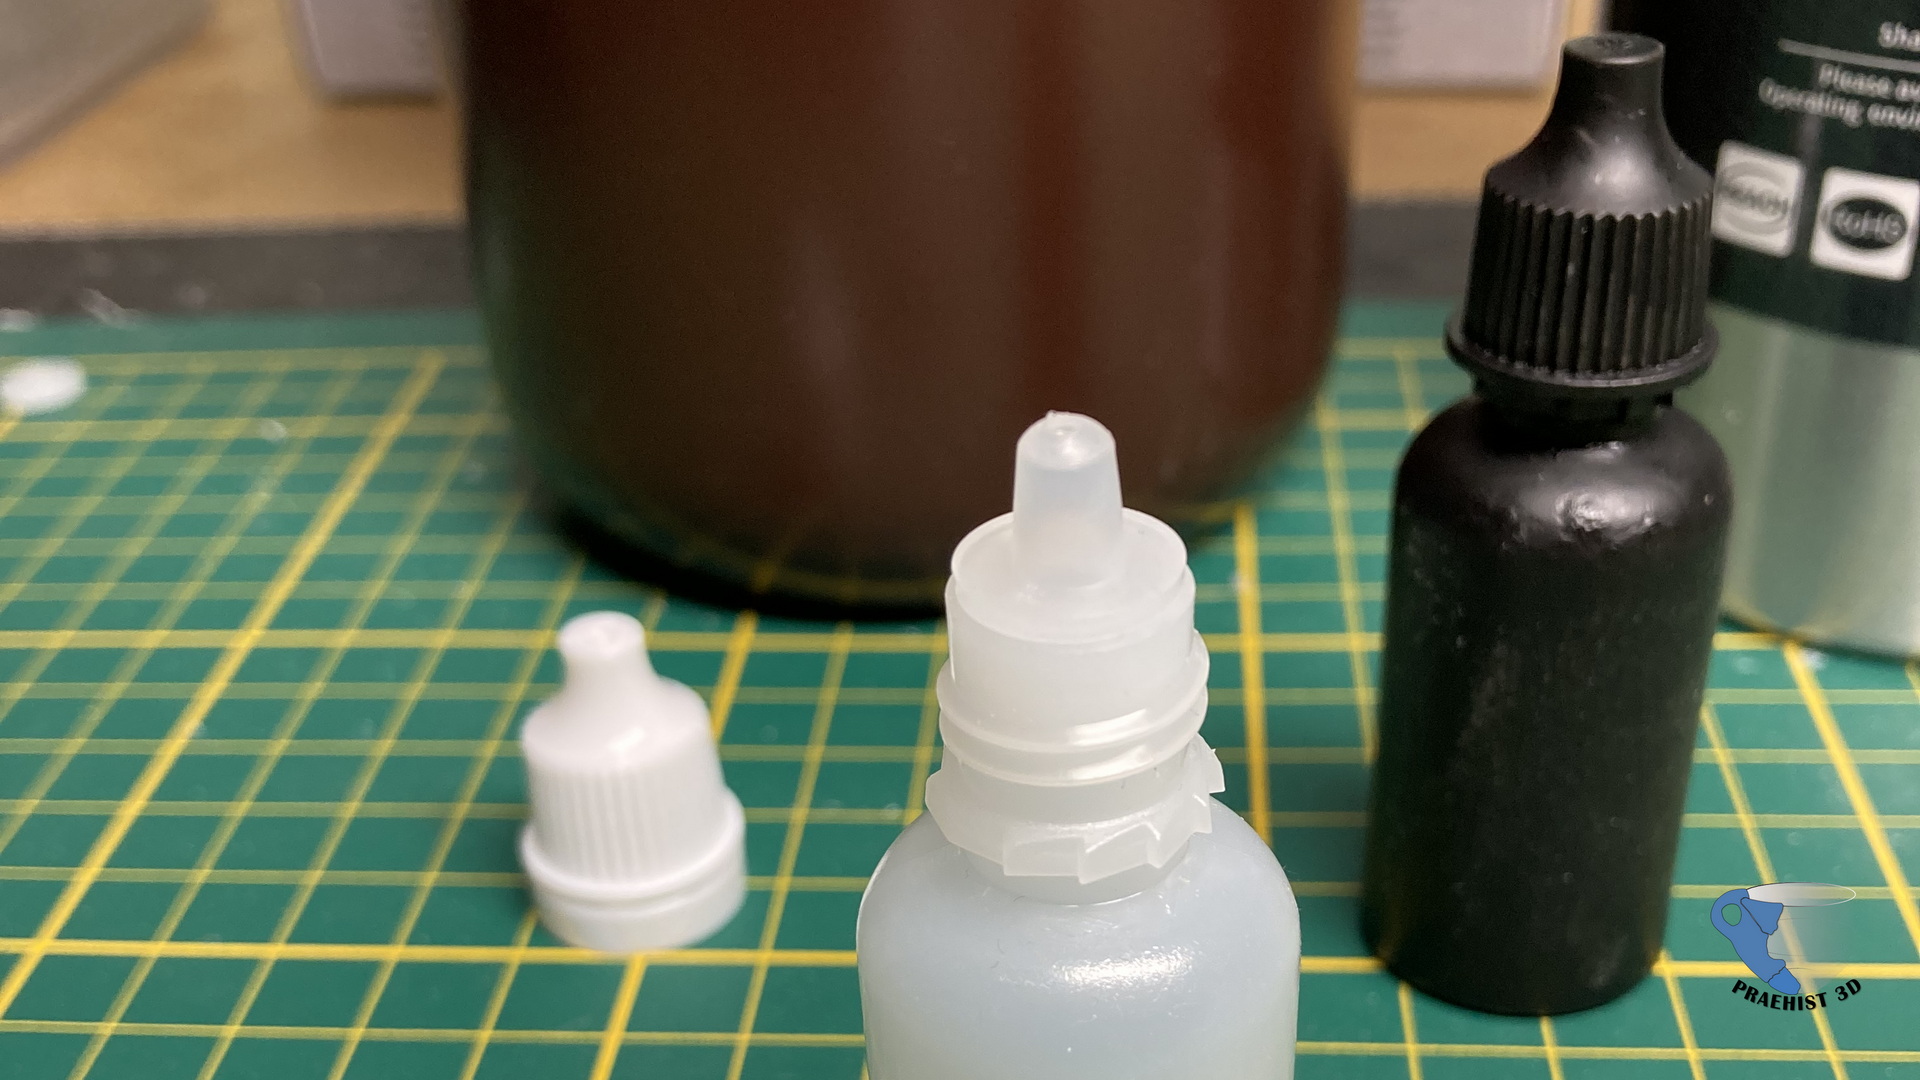
For a better dosage, decanting into empty dropper bottles is a good idea. These can be bought cheaply in small standard sizes of about 17ml in large containers.
I use them primarily for decanting and mixing colors.

The small tip can be used to dispense adhesive in a targeted manner and to shake the resin well before bonding. The areas can be cured well with a UV lamp and safely post-cured in the UV chamber. I usually use gray resin for my prints, and therefore also use the gray resin for gluing. But you can also buy transparent resin for a little money, which is also not noticeable on other objects.
The only important thing is to either use an opaque bottle or, as in my case, to exclude light with several layers of black paint.
Filling with resin
Occasionally small gaps appear in the models or other holes have to be closed.
The resin can be thickened for this. Either with starch or baby powder, or if available, with sanding dust from old prints. You can choose the fluidity yourself. Simply stir in as much powder as you like until the desired consistency is reached.
However, it is important to work in several layers, maximum 3 mm thick, and to harden them again and again so that no unhardened mass remains inside the model.
Cost-effective bonding and filling
The price of resin per kilogram is around €40, but a few milliliters are enough to glue hundreds of objects.
This means that resin as an adhesive and filler is far cheaper than all the modeling adhesives or plastic fillers that I have come across so far.

Please make sure to wear gloves and a mouth guard when working with the material, as it is still not without danger.
I hope this short article will help you a little bit when assembling and gluing.
Are you interested in 3D scans, prints, reconstructions, workshops or questions?
